The Simple Paper Clutter System That Ended My Kitchen Counter Chaos
School forms, receipts, medical papers, unopened mail — paper is the sneakiest source of home chaos. Here's a five-minute-a-day system that finally solved it.
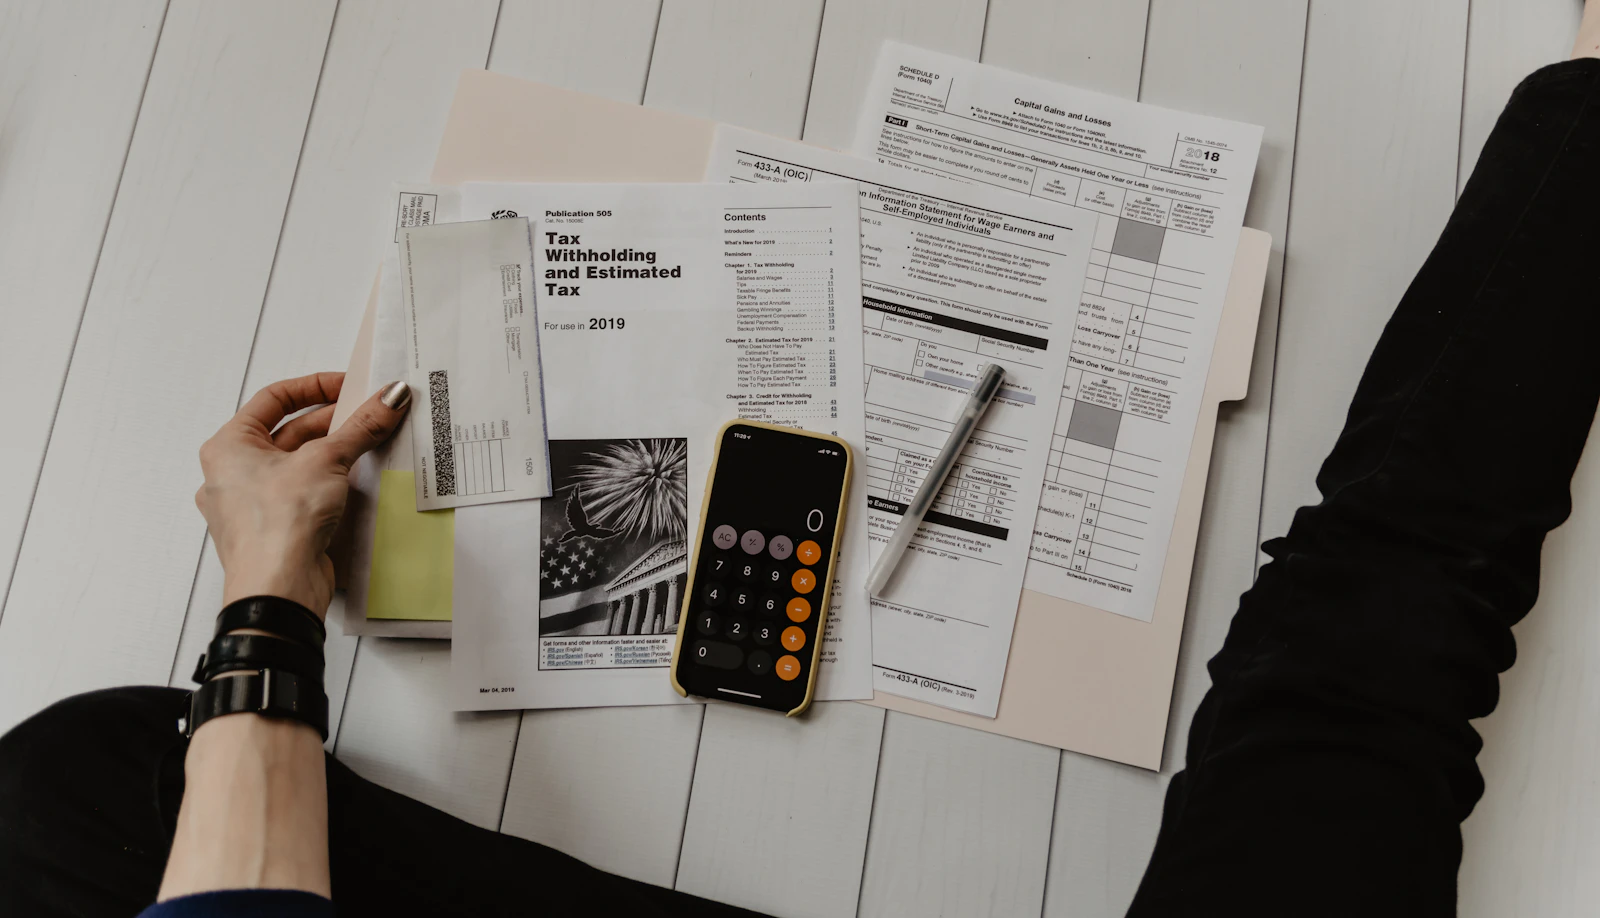
For years, my kitchen counter was a graveyard for paper. Mail I hadn't opened. School forms I meant to sign. Receipts from a trip I still hadn't logged. Medical papers I might need. Every clean surface in the house eventually became a paper landing zone, and every attempt to 'organize' it ended with a big pile shoved into a drawer I then couldn't close. It wasn't until I built the small daily paper system in this guide that I finally beat it — and haven't lost a single important document since.
This isn't about going paperless or scanning everything into the cloud (though we'll touch on that). It's a physical, low-effort, five-minute-a-day system that catches every piece of paper coming into your home and gives it a fast destination. If you follow this for two weeks, your counter will be clear and your important documents will be findable in under a minute.
The core insight: paper needs a destination, not a pile
The reason paper accumulates is that we don't decide what to do with each piece when it arrives. It sits in an in-between state on the counter, waiting for us to 'get to it.' The system flips this: every single piece of paper gets a destination assigned within 30 seconds of arriving. That's it. Once you have destinations, the paper flows through the house instead of piling up.
The five destinations every paper goes to
Every piece of paper you own or receive falls into one of these five categories. Learn them once and the sorting becomes automatic. Category 1: trash or recycling (most junk mail, ads, expired coupons). Category 2: shred (anything with account numbers, addresses on paid bills, sensitive info). Category 3: action needed within 7 days (bills, school forms, RSVPs). Category 4: keep for reference (medical records, warranties, tax documents). Category 5: sentimental (kids' art, cards, photos).
"Every piece of paper you own or receive falls into one of these five categories."
Set up the physical system in one afternoon
You need five simple containers or locations. A recycling bin in the room where mail enters (usually the kitchen). A shredder or a small labeled bin for 'to shred.' A small file organizer or wall pocket for 'action needed this week.' A file box or filing cabinet drawer for reference documents. A dedicated art bin or memory box for sentimental items. Total setup cost: $30-$60 for basic supplies. Total time: one Saturday afternoon.
The 'inbox spot' by the door or kitchen
Designate one small spot near where mail enters — a shallow tray on the counter or a hanging wall pocket. All incoming paper lands there and NOWHERE else. This is the rule. Nothing else on the counter. This one boundary is what makes the whole system work.
The daily 5-minute sort
Once a day (I do it before dinner while cooking is passive on the stove), open every piece of paper in the inbox and immediately decide its category. Trash goes to trash. Shred goes to the shred bin. Action-needed goes to the action file. Reference goes to the file box (or the pile to file weekly — see below). Sentimental goes to the art/memory box. This takes 5 minutes if you do it daily. It takes 45 minutes if you skip a week. Choose your battle.
"Once a day (I do it before dinner while cooking is passive on the stove), open every piece of paper in the inbox and immediately decide its category."
The weekly file dump
Once a week, take the reference items you've set aside and file them properly. Sunday works well because you're already in gentle-organizing mode. Fifteen minutes maximum. If you file weekly, you never face the dreaded 'file for a whole year in one sitting' project that no one ever actually completes.
Build a simple reference filing system
You do not need 40 file folders. You need maybe 10-15. Labeled categories that work for most households: Auto (registration, service records). Bills (paid statements you might need for taxes or warranty). Home (mortgage, lease, repair records, warranties for major purchases). Medical (each family member gets a folder). Insurance (auto, health, home). Kids (school records, immunization records, one folder per kid). Taxes (current year, then archive when new year starts). Warranties (grouped in one folder). Employment (contracts, pay stubs, benefits info). Investments (statements, IRA info). Personal (birth certificates, passports, marriage license — keep these in a fireproof lockbox ideally). That's 11 categories that cover most homes.
The 'someday' file trap
Do not create a 'to read later' or 'maybe interesting' file. Every paper you file for vague reasons gets forgotten and clutters the system. If you truly want to read something, put it on your bedside table and read it within a week. If you don't read it, it wasn't going to be read. Toss it.
"Do not create a 'to read later' or 'maybe interesting' file."
Kids' art: the trickiest paper of all
Kids' art is emotionally hard to throw away, but keeping every drawing forever is impossible. My system: display 3-5 current pieces on the fridge or a magnetic strip. Rotate weekly. At the end of each month, choose the top 5-10 to keep, and photograph the rest before recycling. Photos live in a folder on your phone or in the cloud. Keep the actual physical originals in a labeled art bin, one per kid, per year. When the bin is full, choose the best 20 and archive to a photo book or a smaller memory box.
Go digital where it helps — but not for everything
Some paper is worth scanning to reduce physical volume: important documents like tax records, medical records, and warranties. Use a phone scanner app (any of the free ones is fine) and file the digital copy in labeled folders in cloud storage. But don't scan everything — for most paper, physical filing is faster and easier to find later. Choose digital selectively.
The bills-and-forms zone
Bills that need paying and forms that need returning are the highest-stakes papers. They get a dedicated action file, usually a hanging wall pocket or a small standing organizer on your desk. Check it once a week (Sunday works well). Pay bills, sign forms, then move each paper to its final destination (recycling if paid, filing if you need a record). Empty the action file weekly. If a paper sits in the action file for three weeks, ask why — is it still relevant? Do you need it?
"Bills that need paying and forms that need returning are the highest-stakes papers."
Receipts: the specific challenge
Receipts are their own headache. My system: any receipt for a purchase over $50 or for anything with a warranty goes into a 'keep' envelope for one year. Everything else — coffee receipts, gas receipts, everyday grocery receipts — gets tossed after 30 days unless needed for a return. Tax-deductible business receipts go into a designated envelope by year.
The 'papers about the future' problem
Some papers are for future events: concert tickets, invitations, appointment reminders, travel documents. These belong on a physical calendar spot, in a phone calendar, or in a designated 'events this month' section of the action file. Don't file future-event papers with your regular reference documents; they'll get lost when you need them.
What to shred and what to just toss
Shred: bank statements, credit card offers, tax documents older than 7 years, medical records with personal info, anything with a full account number or Social Security number. Just toss (or recycle): junk mail without personal info, receipts without account numbers, newspapers, magazines, envelopes without addresses visible. If you don't own a shredder, most office supply stores offer shredding services by the pound for a few dollars.
"Shred: bank statements, credit card offers, tax documents older than 7 years, medical records with personal info, anything with a full account number or Social Security number."
The 'annual archive' rhythm
Once a year (I do this in January when I'm doing taxes anyway), go through the reference files. Move last year's paid bills, receipts, and tax-relevant papers to a labeled archive box. Keep active files current. Toss anything older than 7 years unless it's genuinely permanent (property documents, birth certificates). This yearly rhythm prevents files from bloating.
When you fall behind
You will fall behind sometimes. Life happens. The system is designed to handle a 2-3 week backlog gracefully. Just spend an hour on a Saturday catching up: sort the inbox pile using the five categories, empty the action file, file the reference pile. You're back on track. Punishing marathon organizing sessions aren't necessary — the small daily habit is the whole system, and short pauses don't break it.
The daily quiet reward
The best part of this system isn't the tidy counters or the findable documents (though those are real). It's the quiet mental relief of not having a pile of unsorted paper haunting the back of your mind. Every piece of paper has a home, and every day the inbox gets cleared. Five minutes a day. That's all it costs. And after a month, it's automatic — you barely think about it. The chaos ends, quietly, and stays ended.

About the writer
Charlotte Sinclair Team · Verified
Home & Organizing Writer
Former stylist, now a slow-living writer. Covers organizing, houseplants, and calm home rhythms that actually last.
Keep reading
More from the Nook
 №01
№01Garden · 14 min read
How to Start a Vegetable Garden in a Small Space (A Friendly, Realistic Guide)
You don't need acres of land to grow fresh food. A sunny balcony, a strip of yard, or even a windowsill can produce a surprising harvest when you plan carefully — here's exactly how to do it, step by step.
 №02
№02Home Decor · 13 min read
A Cozy Living Room Makeover for Under $200 (The Real, Honest Breakdown)
You don't need a designer, a demo crew, or a huge budget to transform a tired living room. With a weekend, a few basic tools, and some intentional shopping, the whole feel of a space can shift — here's exactly how I did it.
 №03
№03DIY Projects · 16 min read
DIY Floating Shelves: A Friendly Step-by-Step Beginner Tutorial
Sturdy, invisible-bracket floating shelves are one of the highest-impact DIY projects a total beginner can pull off. This is the exact process, the mistakes to skip, and the finish that never fails.